FREE Printable DIY Doodle Dog Christmas Tree Ornaments

Looking to offer a unique activity at the family holiday party this year? Searching for a fun and entertaining project to do with the family this holiday season? This craft may be the answer!
Everyone loves a fun and inexpensive activity. Check out these FREE printable doodle dog Christmas tree ornaments! Great for all ages! (For personal use / adult supervision recommended for children).
Disclosure: This post contains affiliate links, which means we may make a small commission if you make a purchase after clicking on the links. Thank you for your support! We are a participant in the Amazon Services LLC Associates Program, an affiliate advertising program designed to provide a means for us to earn fees by linking to Amazon.com and affiliated sites.

YOU WILL NEED:
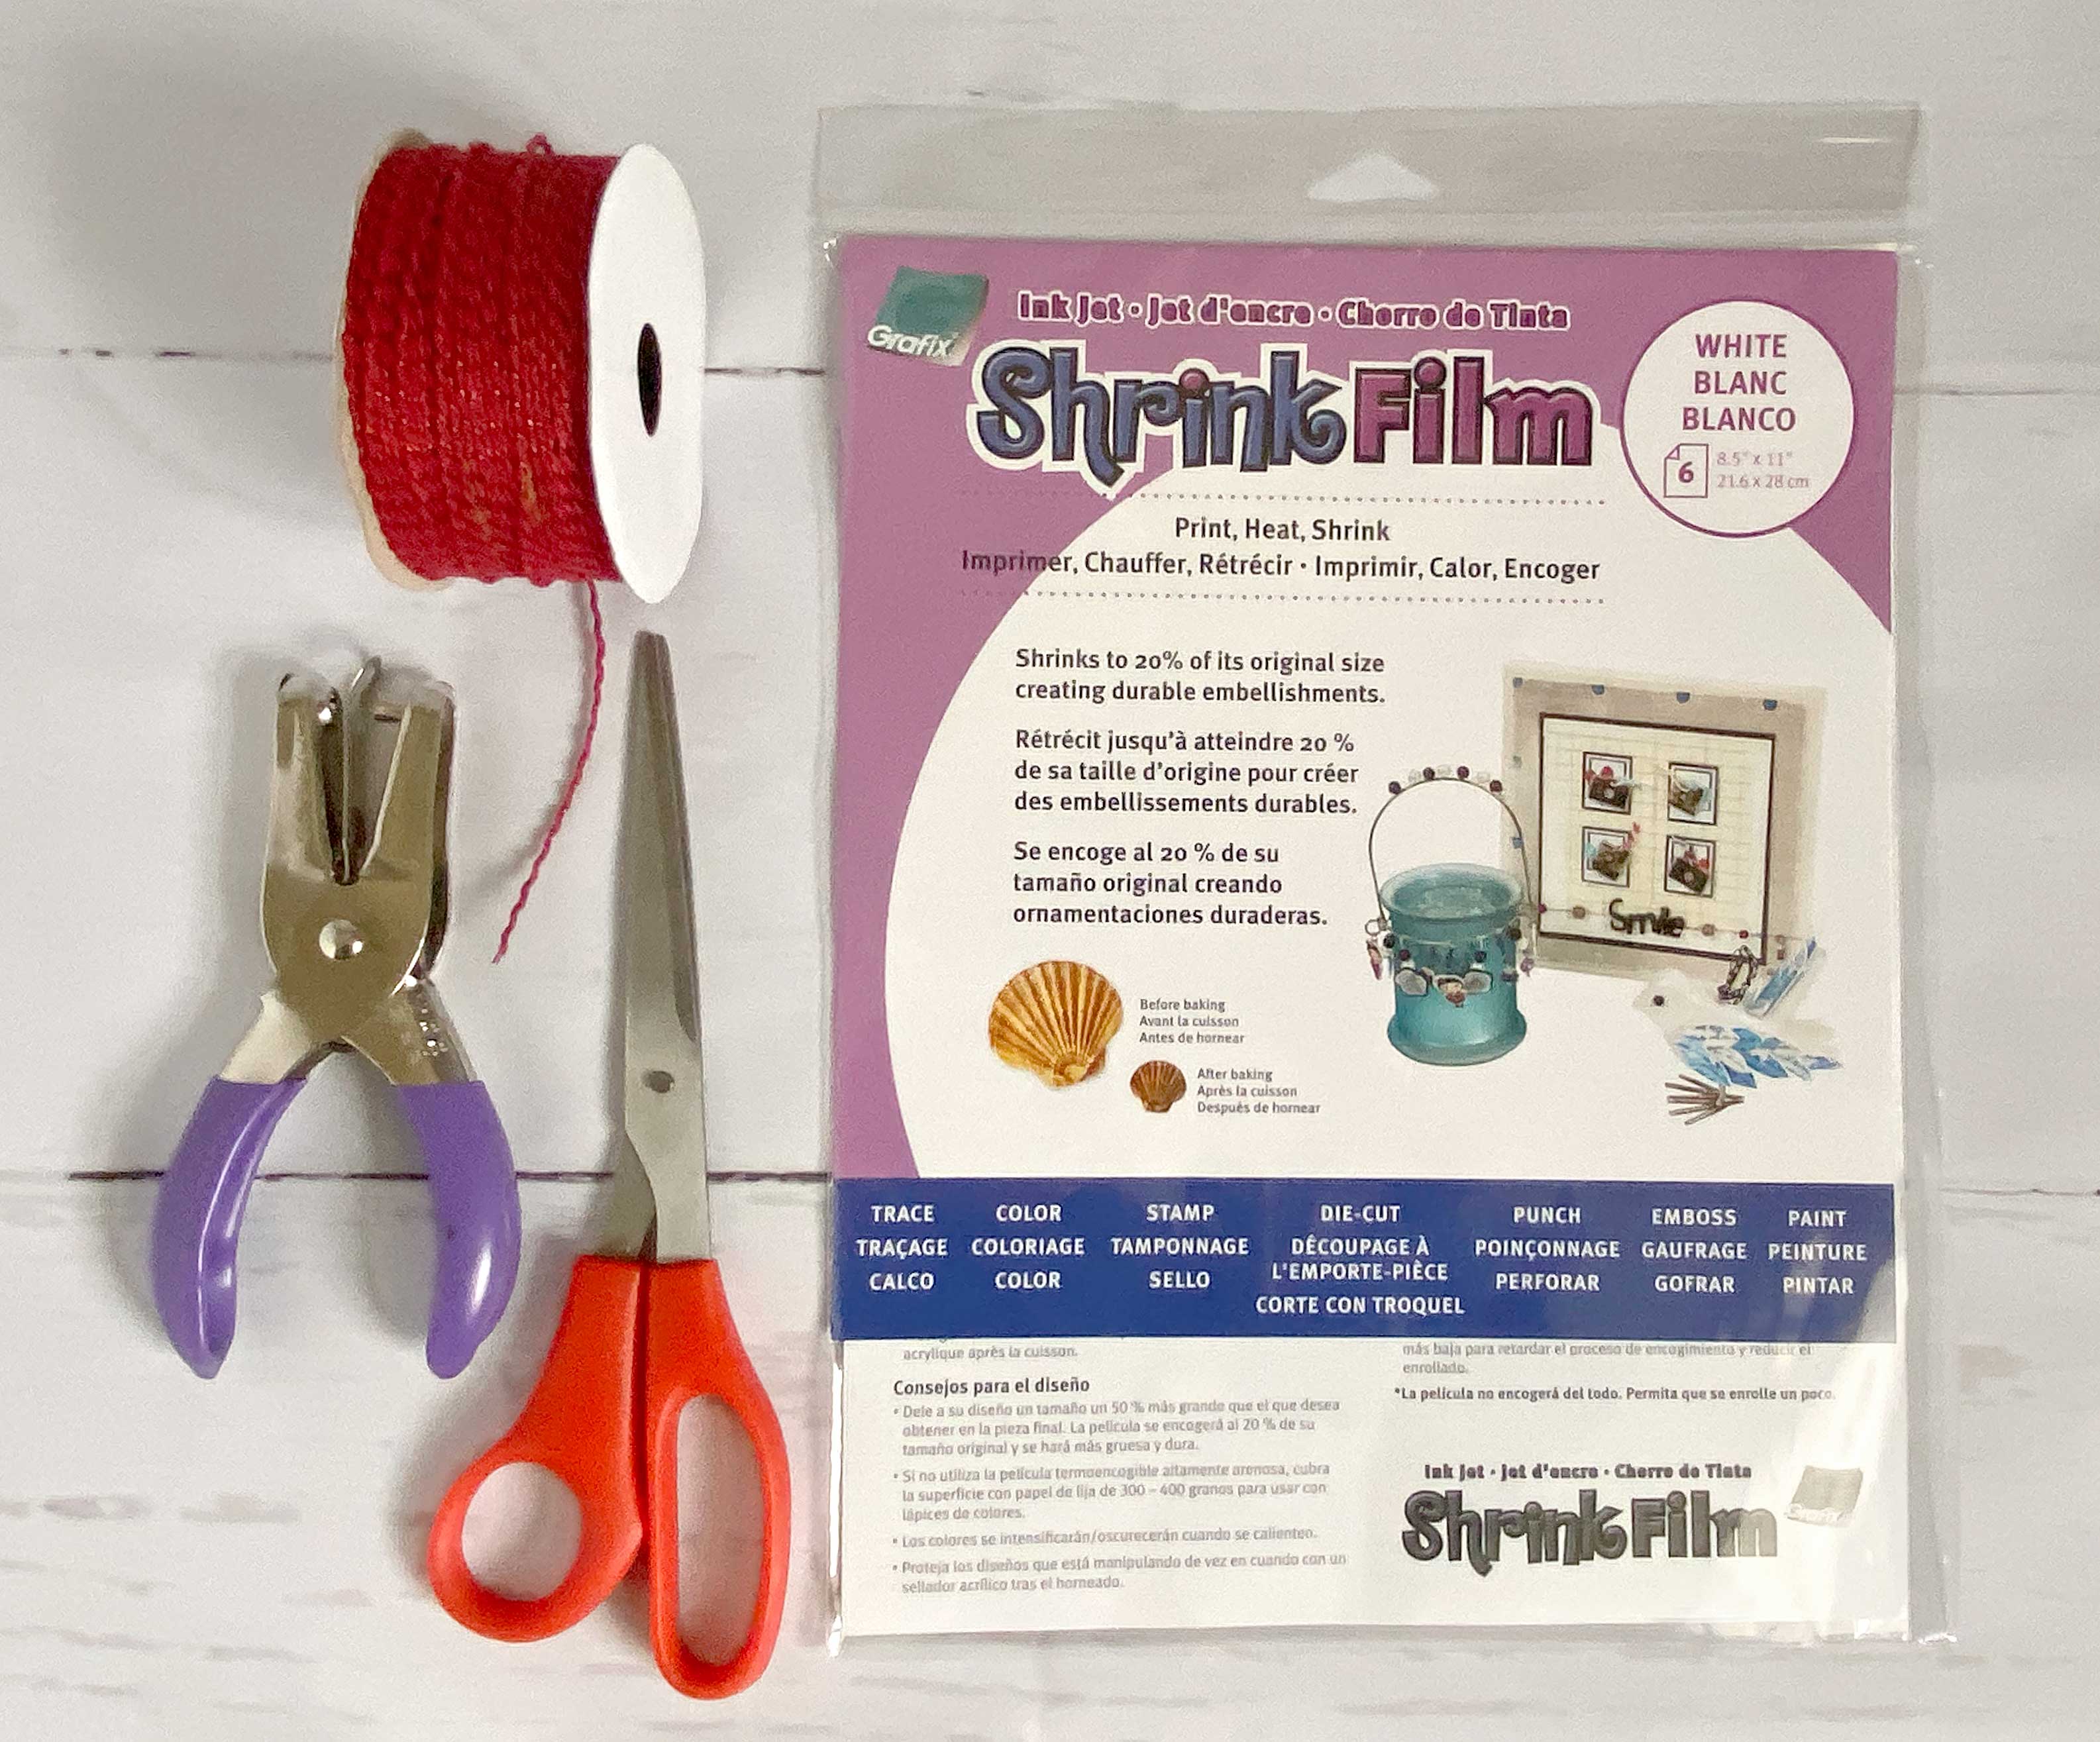
• 1 package of printable shrink film. I recommend Grafix Shrink Film from Amazon.
• A color printer
• Twine or ribbon
• Scissors to cut out artwork
• Hole puncher to help cut the hole
• Sharpie Marker (optional - for personalization)
• An oven, cookie sheet, parchment paper and oven mitt
INSTRUCTIONS:

1. Print the PDF
Please click here and enter your email address for access to the printable PDF file. You will receive an email with a link to download the printable ornaments.

2. PERSONALIZE (optional)
For a personal touch, write your dog’s name on the dog house with a Sharpie permanent marker. Remember to write it a large as possible becuase it will be shrinking to about 30% of its size.

3. CUT OUT EACH ILLUSTRATION
With scissors, try and cut as close as possible to the outside of each illustration. You can also choose to cut just outside the border and leave a small white outline around each artwork.
*Don’t forget to cut out the HOLES inside each piece!
In order to thread the twine to create an ornament, you will need this hole. This hole needs to be trimmed out BEFORE you put in the oven and shrink. I recommend using a hole puncher.
4. BAKE
For this step, please follow the instructions on your shrink film package. Grafix Shrink Film suggests:
• Preheat oven between 300°-350° F
• Place artwork on cooking sheet lined with parchment paper
• Cover artwork with parchment paper to keep film from sticking to itself when baking
• Bake for about 2-3 minutes. **To determine best oven temperature and time, test with a scrape piece**
• If slightly curved, flatten with spatula after baking (do NOT touch until it has cooled off)
Note: After printing my ornaments, I cut some of the excess Shrink Film paper that was around the printed artwork. I then took these little pieces and did a test in my regular conventional oven and noticed the paper sometimes created a dimple. Therefore, I tried my toaster oven and it worked great and shrunk in less time—about a minute. All in all, test with the excess paper to see what works best in your home.
6. LET COOL OFF
Do NOT touch the ornaments until they have completely cooled down. Again, if not the are not flat, push down with a spatula.

7. ATTACH THE TWINE
Cut the twine or ribbon to your desired length, thread through each hole and tie a loop.
8. HANG YOUR ORNAMENTS ON THE TREE!
Sit back, relax and enjoy your fun creation!
Snap a picture and tag us @DoodleDogTown so we can see how yours looks, too!
Merry Christmas!
––––––––
This project was inspired by The Broke Dog.
––––––––
Want more cute doodle dog stuff?

Find these adorable stickers and more in our shop!
